Raspberry Pi Home Automation Part 3: Putting it All Together With Home Assistant
November 16, 2020
Blog

Setting up and running your own Raspberry Pi home automation system is both fun and useful, and lets you have control of your devices without depending on “the cloud.”
Setting up and running your own Raspberry Pi home automation system is both fun and useful, and lets you have control of your devices without depending on “the cloud.” I did a quick overview of my home automation setup here, as well as how to prepare devices for integration with Tasmota in a Part 2 followup. In this part 3 we’ll put everything together with Home Assistant (HA), my chosen Raspberry Pi home automation platform.
Install Home Assistant on your Pi
First you’ll need to actually install HA, which is covered in some detail on this installation page. Note that there are several non-Pi options, and you can even install it as a virtual machine if that works better for you. Only the Pi 3B and up is recommended, so if you have a Pi 1, Pi 2, or Zero lying around, you may want to upgrade that hardware. I actually had a bit of trouble with a Pi 3, so anecdotally, it might be best to go for a Pi 4 here.
Download the appropriate image, and flash it using balenaEtcher. It’s the same process as setting up Raspberry Pi OS, and you can also put in WiFi info as a text file as outlined here. As with setting up a “normal” headless Pi, I’d recommend saving the configuration file somewhere you can find it, potentially saving you a bit of fiddling later. That being said, if you can plug it in to your network via Ethernet cable, all the better, and after testing its usage both ways, it seems to make a bit of a difference latency-wise.
I actually had trouble accessing the bootable partition on a Mac, so simply used Ethernet for the connection in that instance. Home Assistant’s install instructions note some difficulty with this on Linux, so I’d guess it’s a similar issue.
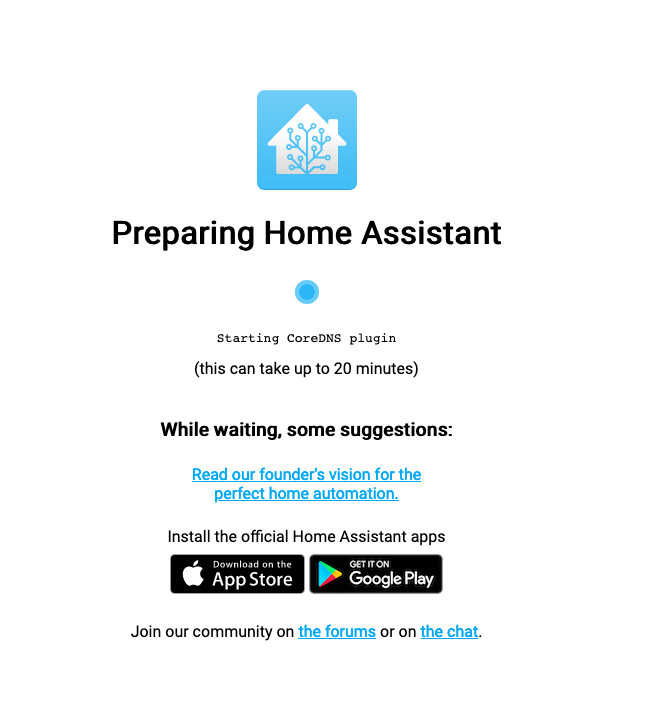
Patience!
Image Credit: screencap
Turn the Pi on with the image loaded, and (if properly connected) it will download the latest version of HA. This can take 20 minutes or so, and after a bit of waiting, you can access your new setup in a browser at http://homeassistant.local:8123. Depending on your setup, you may have to actually type in your address, which can be found on the admin page of your router, or via an IP scanner program. You’ll want to assign a static IP address via your router, so that it’s easy for you and connected devices to find regardless of the chosen method.
While you’re waiting, you can look at your other devices to make sure they can connect via MQTT
A Few More Tasmota Details

Image Credit: screencap
While the Tasmota instructions from part 2 give you a usable webpage, you’ll need to fiddle with it a bit more to allow it to easily interface with HA. Go into the Tasmota Configuration > Configure MQTT. Here, put in the host IP address that you just assigned to HA as the Host, then input the HA user and password (that you actually decide on in the step below). For topic, I input tasmota_light2 for one of my lights, but the actual subject doesn’t seem to be critical. In Configuration > Configure Other, make sure MQTT enable is checked, and enter a Device Name and Friendly Name 1 as you choose. Finally, go back into the Main Menu, then Console, and enter SetOption19 on (you can also use 1 instead of on if you so prefer). This last step allows HA to find the device automatically, as explained in more detail here.
Additionally, if you want your relay to switch on for a short amount of time, then switch off again automatically–such as for a garage door opener relay–this can be configured in Tasmota. Go back into the console, and enter pulsetime x, where “X” is the time period to switch on in tenths of a second (up to a maximum of 11.1 seconds according to this article).
Back to Home Assistant
One HA is accessible, input your name, username, and password to create account. It’ll then ask you where you live, your elevation, and whether you prefer the metric unit system–or the one that put a man on the moon. On the next screen, you may see various items that you can set up. In my case our Roku: Express was found automatically.
Add MQTT and Go!
Assuming you don’t have another MQTT broker set up, navigate to Supervisior > Add-on Store, and click on Mosquitto broker, then click Install, and START when it’s done. If this is all done correctly, your system should detect MQTT devices running on your network.
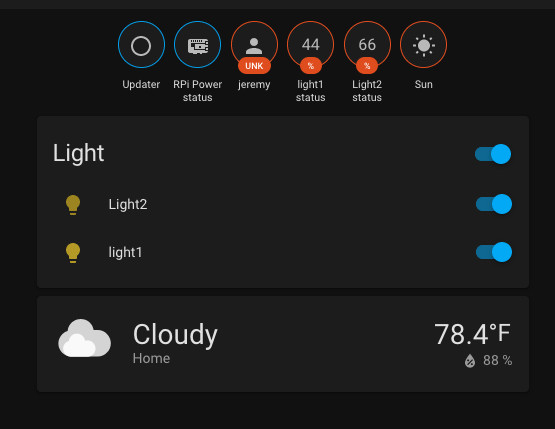
Basic UI
Image Credit: screencap
Remote Control Activated!
A basic GUI setup is found in the Overview screen, which allows you to control lights, garage doors, or whatever you have in mind. I’ve found it especially convenient to save the webpage as an icon on my phone’s screen for easy access.
In a final upcoming post, I’ll talk about how you can automate things, so you don’t even have to use your phone for control. In the meantime, I go over my home automation setup a bit more in this podcast, so perhaps that will provide you with some inspiration!
Jeremy S. Cook is a freelance tech journalist and engineering consultant with over 10 years of factory automation experience. An avid maker and experimenter, you can follow him on Twitter or see his electromechanical exploits on the Jeremy S. Cook YouTube Channel!