Hands-On With the Teensy 4.0
November 30, 2021
Blog
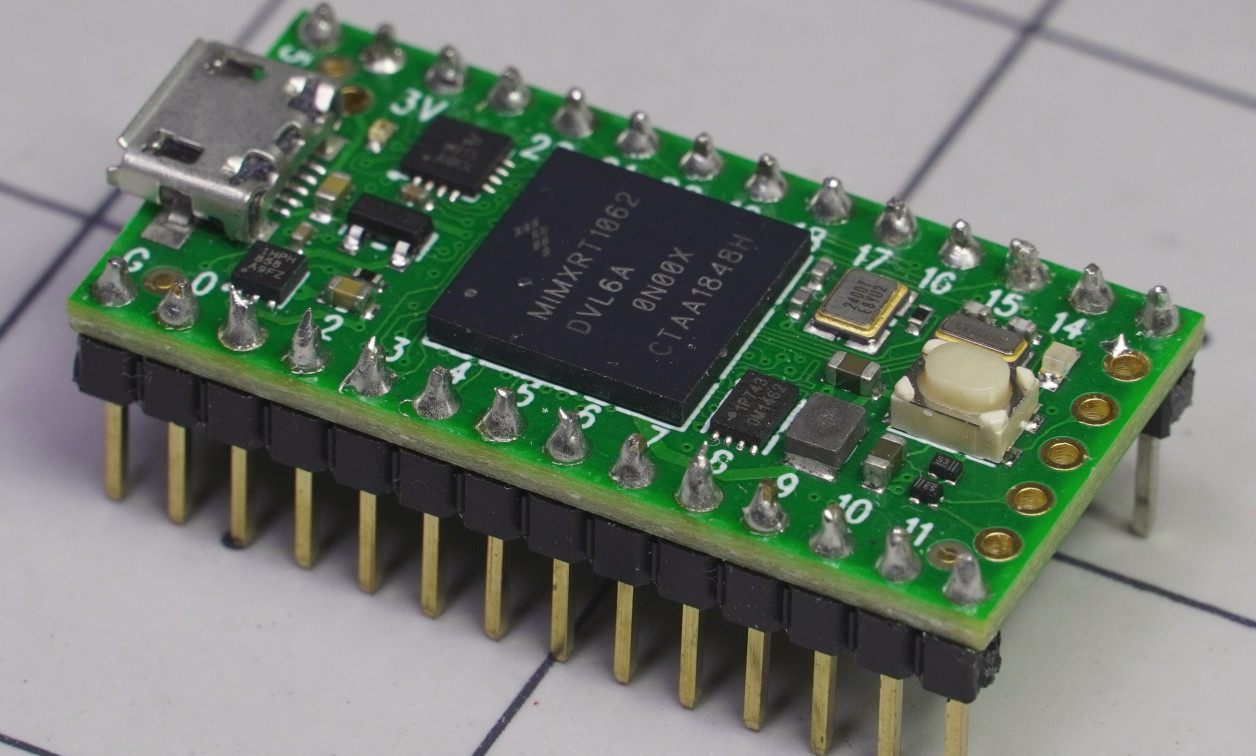
Almost 2 years ago, I met Paul Stoffregen, creator of the Teensy line of dev boards, at the 2019 Hackaday Superconference. Besides being pleased to meet a well known hardware innovator, I was also happy that he presented me with a sample of his Teensy 4.0 board–from a custom leather swag holder, no less.
Sadly, this Teeny 4.0 sat in my parts bin until quite recently, but working on a project where the hardware had been proven out with a Teensy (3.2), I decided it was finally time to see what it could do. Processing-wise, it’s quite an impressive little board. Below are a few highlights, but the full specs are even more impressive.
- ARM Cortex-M7 processor, running at 600 MHz (selectable)
- 1984K Flash, 1024K RAM
- 40 digital I/O pins, 31 PWM output pins, 14 analog input pins
- RTC for date/time + a number of advanced interface and control features
- 35.56mm (36.26 with USB) x 17.78mm footprint, 4.64mm total height
I can remember a day when a desktop with a 600 MHz processor was quite an impressive machine. Of course, that’s not all that goes into a computer, but at a nominal price of $19.95, and in a form factor that easily perches on your index finger, it’s quite an amazing piece of kit.
 :
:
Image Credit: Jeremy Cook
As another comparison, the specs sheet notes a CoreMark benchmark score, which measures the number of times per second a processor can perform a variety of common tasks. The Teensy 4.0 got a 2314. The Arduino Mega reports with a 7, making the Teensy approximately 330 times faster than the Mega.
A Teensy Bit of Yak Shaving
Teensy boards are nominally programmed with the Arduino IDE, using a Micro-USB cable for the 4.0. The trick is that you’ll need to download and use the Teensyduino add-on for your Arduino software. It runs like a separate program, and performs almost like the standard Ardino IDE. Making the switch is actually quite painless to use if you’re used to the standard Arduino paradigm, and most Arduino code will run on a Teensy.
You’ll also need to use the Teensy Loader application while Teensyduino is running to allow your computer to talk to the device. Neither of these programs were difficult to setup on my Macintosh computer, so don’t let this small bit of setup scare you off. This particular yak is rather calm.
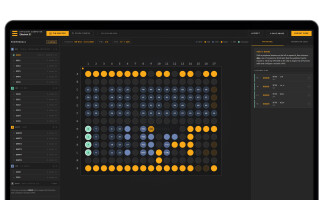
Versatile Interface

Image Credit: Screencap
Besides raw processing power, one strength of the Teensy is that it can be used an an HID device to emulate a keyboard, mouse, touch screen, and more. Unlike a traditional Arduino, this isn’t defined by the use of libraries explicitly inserted into your code, but such functionality is selected in the Tools > USB Type menu. This includes a number of options, including several variations on MIDI, serial, and audio interfaces.
If all of the Teensy’s massive processing power isn’t needed, you can change the CPU Speed from the nominal 600 MHz to as low as 24 MHz to save power. You can also set it as high as 1.008 GHz, though at 912 MHz and faster, cooling is required, presumably to keep it from immolating itself.

Image Credit: Screencap
I was curious as to how the speed affected power usage on the Teensy 4.0, so after a bit of testing, here’s what I got. Note that USB was set at Serial + Keyboard + Mouse + Joystick, though the effect, and that I was using a rather inexpensive USB measurement adapter:
- .21 Amps @ 1.008 GHz
- .13 Amps @ 816 MHz
- .07 Amps @ 600 MHz (nominal)
- .01 Amps @ 150 MHz
- .00 Amps @ 24 MHz (did not register)
Bottom Line
For many applications, less capable and less expensive boards will get the job done, and you might say if it isn’t broken why fix it. $19.95 is a reasonable price point, but if you’re going to scale down its processing power anyway, a lesser board might do the job. This would include Arduino clones, along with the Raspberry Pi Pico. While powerful, and nicely priced at $4, the Pico is still no match for the Teensy 4.0 processing-wise.
Teensy 4.0 blinking a few LEDs. "Perhaps" overkill. pic.twitter.com/1xBmlPkLdI
— Jeremy Cook ? (@JeremySCook) November 30, 2021
Having this kind of processing power available here opens up all kinds of possibilities. These boards will run most Arduino sketches, so if you simply need more power to work with an existing code base, then the Teensy 4.0 could be an easy upgrade. Personally, I’m not sure what else I’ll use it for, but am looking forward to coming back to this powerhouse in the future. Perhaps this will involve something musical, given its superb processing power and MIDI capabilities.
Jeremy Cook is a freelance tech journalist and engineering consultant with over 10 years of factory automation experience. An avid maker and experimenter, you can follow him on Twitter, or see his electromechanical exploits on the Jeremy Cook YouTube Channel!