
Easy Headless Raspberry Pi Setup
July 21, 2020
Blog
The reality is that once you go through the process one time, if you follow the right steps the next installation is just a few clicks away.

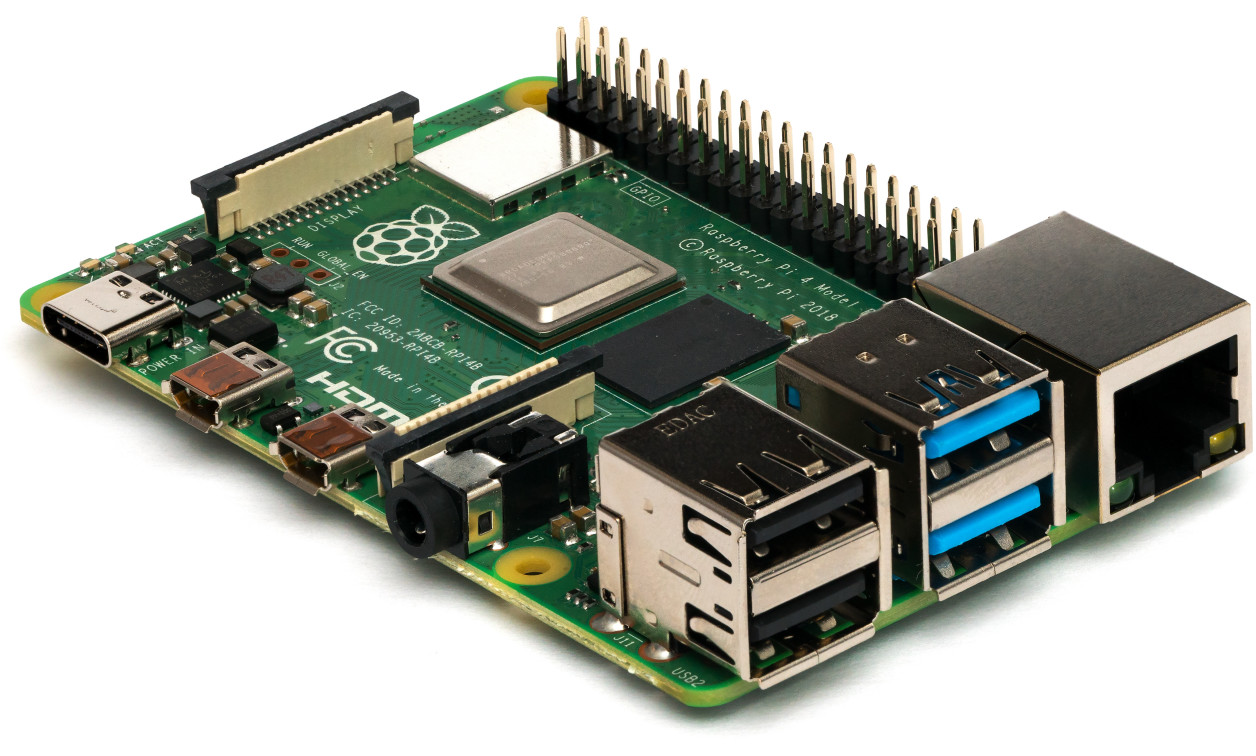
(Image Credit: Miiicihiaieil Hieinizilieir / Wikimedia Commons)
As outlined in this Raspberry Pi Connect post, it’s very possible to connect to your Raspberry Pi over a local network, and accomplish a wide range of tasks. In fact, as I’ve become more comfortable with the system, this is by far my preferred control method. While that post gives a good overview of how to get connected to a system once set up, what if you don’t want to deal with initially connecting a monitor, or remembering how to modify X and Y text files, and with what editor?
The reality is that once you go through the process one time, if you follow the right steps the next installation is just a few clicks away.
Step 1: Create Reusable Text Files
To enable a connection, your Pi will need to first know to enable SSH (as it’s not by default for security reasons), and how to actually connect to your network (i.e. password, network name, etc.). If you’re on Windows, use the excellent Notepad++ editor for the following tasks in order to avoid possible headaches.
First, to enable SSH, create a new file, then save it as ssh with no extension. That’s it, the blank file is all you need.
Create a second file called wpa_supplicant.conf on which you’ll place info about your network. It’s a fairly simple file, and an anonymized version of mine is seen below:
update_config=1
ctrl_interface=DIR=/var/run/wpa_supplicant GROUP=netdev
country=US
network={
scan_ssid=1
ssid="yyyyyyyyyyyyyyyyy"
psk="xxxxxxxx"
}
You’ll want to change the ssid and psk in the above file to match your network, noting that both that both are likely case sensitive. You may also need to change the country code, based on 2-character ISO 3166-1 abbreviations found on Wikipedia. Raspberry Pi gives an official (and very similar) example here, and if you want to get into the weeds they have lots more info available on this page.
Save both files in a directory that’s easily accessible. You’ll need for setting up your current Pi, and if you keep it safe, you don’t have to go through the above steps again.
Step 2: Download and Write Image

Download Raspberry Pi OS (formerly known as Raspbian), then flash your card with balenaEtcher. BalenaEtcher will accept .zip files, but I’d suggest extracting the image first, as compressed files have given me problems before.
Step 3: Place Files on Boot Partition
With this done, a boot partition that your Windows PC can read will pop up. If not, try reconnecting the drive or poking around in your file manager. Copy the two files that you just created to this partition, then eject the card from your reader.
Step 4: Insert SD Card and Connect
Insert the SD card into the Pi, power it up, and give it time to log on to your network. As outlined in the Pi Connect article, you can use a scanner to see where it pops up on your network, and log on with PuTTy. Your now connected to your headless Pi, with no need for a monitor on the Pi! Of course you’ll want to change your password immediately, and you can do so with the command passwd.
More Pis: Repeat 2 Through 4
Keep your ssh and wpa_supplicant files handy. The next time you want to set up a Pi from scratch, simply start at step 2 (potentially even reusing the OS file). Burn your card, drop the files onto the boot partition, card goes into the Pi. Power up, connect, and you’re in business! If you need to create new headless Pi installations on a repeating basis, this is definitely the way to go. It will save you lots of time and headache, and will keep you from having to figure out where you put your spare monitor, keyboard, and mouse for each setup!
About the Author
Jeremy S. Cook is a freelance tech journalist and engineering consultant with over 10 years of factory automation experience. An avid maker and experimenter, you can follow him on Twitter [https://twitter.com/JeremySCook], or see his electromechanical exploits on the Jeremy S. Cook YouTube Channel! [https://www.youtube.com/c/jeremyscook]


