Raspberry Pi Home Automation Part 2: Flash Devices With Tasmota Firmware
November 06, 2020
Blog

While a Raspberry Pi is the central hub of this home automation system, It of course needs devices that work with it.
As introduced here, I now have a very simple Raspberry Pi-based home automation setup at my house. It’s capable of controlling my garage via a relay, as well as the fountain on the front porch (or was until what appears to be an unrelated GFCI issue), and now two smart bulbs. While a Raspberry Pi is the central hub of this home automation system, It of course needs devices that work with it. To avoid any sort of cloud/privacy issues often inherent with stock firmware, I first flash my devices with Tasmota.
The Tasmota alternative firmware, at its most basic, generates a local web page that allows you to log on to your smart device and adjust settings via a browser. This is possible in a large part because many WiFi devices use the ESP8266 chip to control “smart things.” While this can require some fancy soldering and/or disassembly work to access programming pins, you can also simply install Tasmota over-the-air (OTA). Like magic. I’ll touch on both methods below:
The Hard Way: Add Programming Headers
I explain how to flash via a wired connection in this Arrow.com article, and depending on the application and your available hardware, this could actually be the preferred method. In that particular case, I used Sonoff Basic units, which are easily disassembled, and provide ready-made through holes for header attachment. Once headers are on, you can plug in the appropriate wires and send the tasmota.bin firmware file to it via a program like ESPEasy or Tasmotizer. Tasmotizer is my current flasher of choice, in part because this app works perfectly so far on my new Macintosh.
On the other hand, many smart devices don’t exactly make it easy to attach headers. For those those, you can simply flash wirelessly!
The Easy Way: Flash Wirelessly with Tuya Convert
For devices like smart lights, which would require some creativity, and possibly destruction, to get at the programming pins, OTA flashing via Tuya Convert method is definitely your friend. While I was hesitant to try it, as it seems like it would be quite complicated, it actually worked quite well. In fact, all you need for this procedure is:
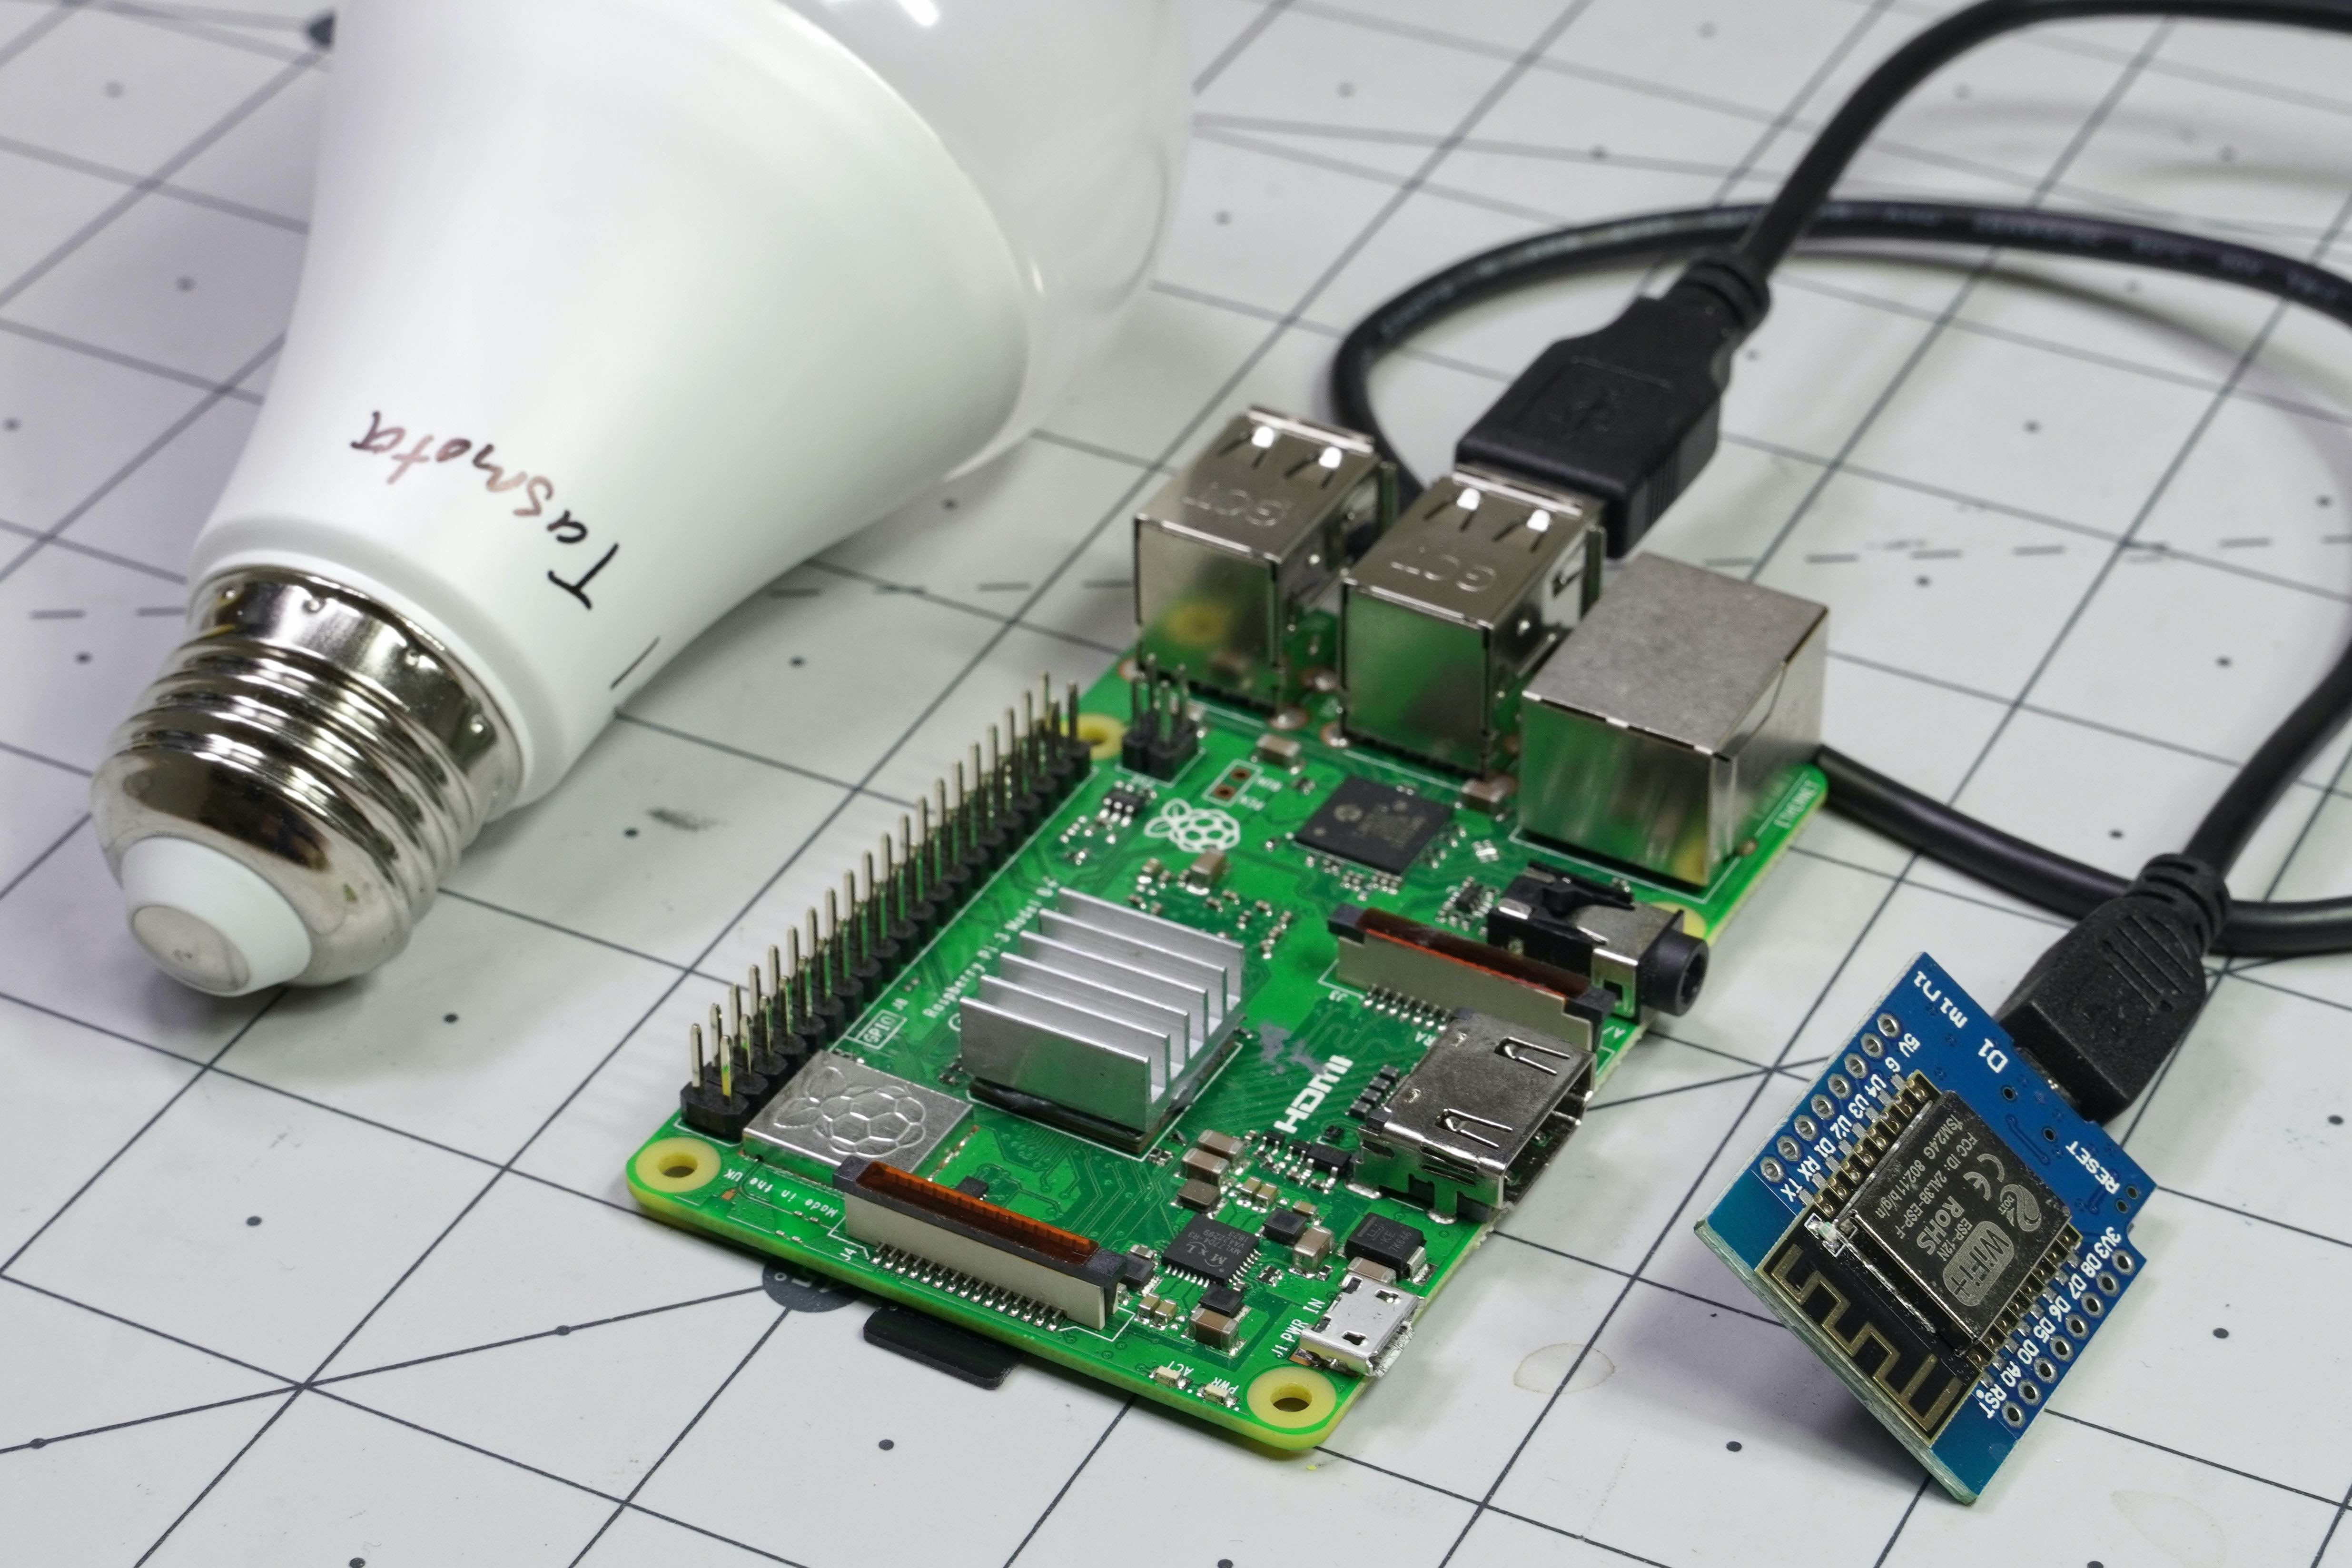
- A Raspberry Pi capable of WiFi communication (I used a 3B+) w/ Micro SD card
- Wemos D1 mini (other ESP8266 boards may work as well)
- Physical ethernet connection for SSH communication as the Pi’s WiFi is otherwise occupied during this conversion (keyboard/monitor should also work)
I had all of these fairly common hacking/making elements on-hand, so it was a matter of:
- Install Raspberry Pi OS Lite on my Pi
- Flash the donor file (tc_donor_mini.generic_1M.bin) onto my D1 mini with Tasmotizer
- Connect the Wemos D1 mini to the Pi via USB
- Follow the rest of the procedure outlined on digiblurDIY and in the video below
You’ll need to put your to-be-flashed device into programming mode, which for me meant turning the light on and off several time in succession according to its instructions. It then blinked quickly to indicate it was ready to be programmed. Especially helpful was the video comment at around 10:25, noting that sometimes you need to try this more than once to get flashing to work. I had to go through the procedure more than once for my first bulb. The second bulb worked almost immediately.
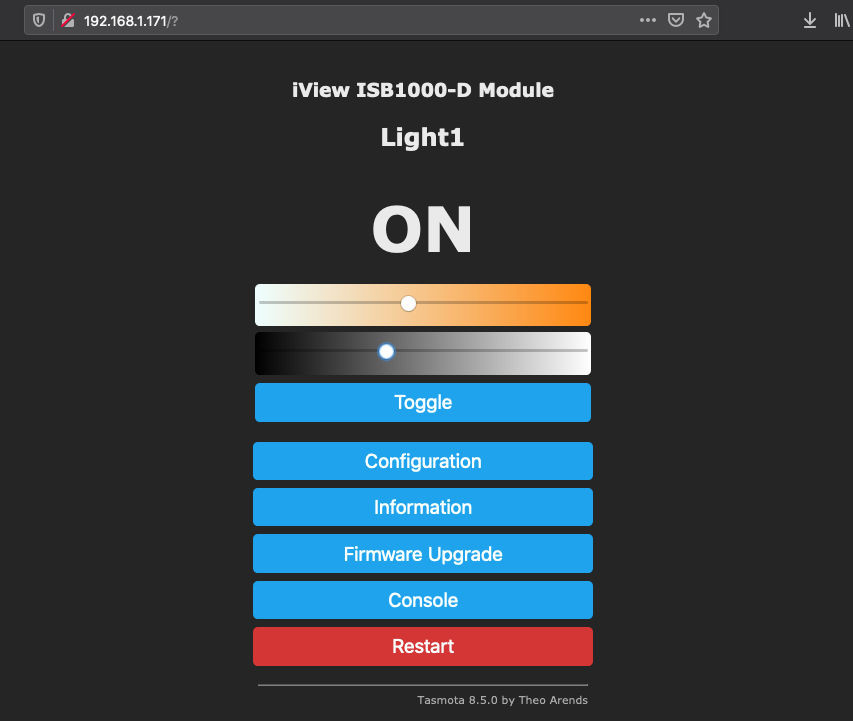
When the process is successful, the smart device sets up its own WiFi network, which you can log onto and put in your home WiFi information. It then connects to your network, and once you find the IP address (I used Angry IP scanner to help), you can navigate to the interface page with your browser to set things up.
I’ll discuss this in a little more detail in the context of Home Assistant in the next post, but for now you can navigate to Configuration, Configure Other, and put in a template (with Activate checked) to dictate the behavior of your device. An extensive repository of templates is found here, and while my particular bulb wasn’t found, I played with the numbers on a similar device and was able to get it to work. I then added my new template to the repository (at least that seems to be it), so perhaps it will help someone else. Info on creating your own template is found here, which will likely take a bit of trial and error if you have to go that route.
Be sure to check back to see how this and other devices can be integrated into Home Assistant itself! Big thanks to Jason “Cranky Coder” Brunk for introducing me to wireless flashing. It certainly opens up the world of home automation!
Jeremy S. Cook is a freelance tech journalist and engineering consultant with over 10 years of factory automation experience. An avid maker and experimenter, you can follow him on Twitter, or see his electromechanical exploits on the Jeremy S. Cook YouTube Channel!